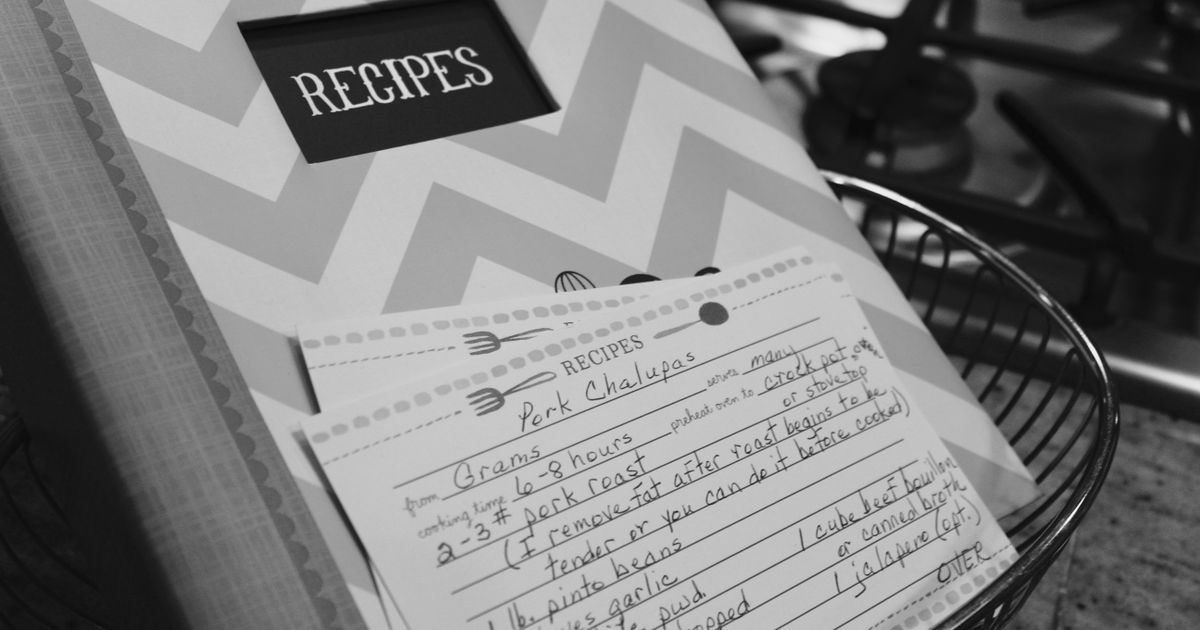
Most family cookbook projects fail before they ever reach the printer—not because the recipes are weak, but because first-time authors overlook format and binding details that turn a heartfelt collection into an unusable kitchen prop. Choosing the wrong binding for a book that will be splattered with sauce, picking a trim size that doesn't fit recipe photos, or skipping lamination on a cover that will see daily handling all add cost or frustration after the fact. This guide walks through the seven most common printing a family cookbook mistakes so you can get usable copies the first time.
Mistake 1: Choosing Perfect Binding for a High-Use Cookbook
Perfect binding—the glued-spine method used for most paperbacks—looks polished on a shelf but collapses in active kitchens. Glued spines don't open flat, forcing cooks to hold pages open with elbows or countertop clutter. Over time, the adhesive cracks along the spine when recipes are referenced repeatedly, and pages fall out entirely after a few dozen uses.
What to choose instead: Coil (spiral) or lay-flat binding. Coil binding allows 360-degree rotation and full-flat opening, ideal for family cookbooks that will sit open on counters. Lay-flat sewn bindings—used by many premium cookbook printers—hold pages in place while opening completely, combining durability with a traditional hardcover look. If you're [comparing per-unit costs](/blog/cookbook-printing-cost-calculator), coil typically adds $1–2 per copy, while lay-flat sewn binding adds $3–5 at short-run volumes.
Mistake 2: Undersizing Your Trim for Recipe Photos
Defaulting to a 6×9-inch trim size—the standard for most print-on-demand platforms—works for novels but cramps recipe layouts. Family cookbooks often include step-by-step photos, ingredient tables, or scanned handwritten recipe cards that lose legibility when compressed into narrow margins. Many first-time authors discover the issue only after receiving proof copies with tiny, unreadable images.
What to choose instead: 8×10-inch or 8.5×11-inch trim sizes. 8×10 is the most popular format for custom family cookbooks, offering enough space for landscape photos and ingredient lists without moving into oversized territory. Square formats like 8×8 also work well for photo-heavy collections. Reserve 6×9 only if your book is text-dominant with minimal imagery.
Mistake 3: Picking Glossy Paper When Matte Is More Practical
Glossy coated paper looks vibrant in photo previews but becomes a liability in kitchens. Fingerprints, grease splatters, and water droplets all smudge glossy surfaces, and glare from overhead lights makes text harder to read when the book is propped open. Authors often select glossy because it's marketed as "premium," unaware that it degrades faster under real cooking conditions.
What to choose instead: Matte or uncoated paper for interior pages. Matte finishes resist smudging and reduce glare, and many cookbook printers offer heavier uncoated stocks (80 lb or 100 lb) that feel more substantial than typical POD paper. For covers, a matte laminate or soft-touch finish protects against spills without the fingerprint issues of gloss. Uncoated interiors paired with a laminated matte cover is the standard for professional family cookbooks.
Mistake 4: Skipping Cover Lamination Entirely
Print-on-demand platforms often default to unlaminated covers to keep base prices low. Without lamination, cover cardstock absorbs moisture, warps when exposed to steam, and shows wear after just a few trips in and out of a kitchen cabinet. This is especially problematic for softcover cookbooks, where the cover doubles as structural support.
What to choose instead: Always upgrade to lamination—either gloss or matte. Matte lamination adds durability and a professional feel without the fingerprint issues of gloss. For hardcover books, lamination is standard, but confirm it's included in your quote. Most short-run printers charge $0.50–1.50 per copy for lamination; for family projects printing 25–100 copies, that's a $12–150 investment that extends usable life by years.
Mistake 5: Ignoring Gutter Margins in Your Layout
The gutter is the inside margin where pages meet the spine. Inadequate gutter margins cause text and photos to disappear into the binding, forcing readers to crack the spine or bend pages to see full recipes. This is a layout error, not a printer error, and it's one of the most common issues flagged during proof review. Most cookbook printers recommend at least 0.5-inch gutter margins for coil binding and 0.75-inch for perfect or sewn bindings.
What to do instead: Set asymmetric margins in your design software before exporting PDFs. Left-hand pages need wider right margins; right-hand pages need wider left margins. Most cookbook templates from platforms like Lulu or Blurb build these margins in automatically, but if you're designing in Word, InDesign, or Canva, you must configure them manually. Export a test PDF and review every two-page spread to confirm no content falls into the gutter.
Mistake 6: Ordering Too Few Copies to Test Durability
Many authors print one or two proof copies, approve them based on appearance, and then jump straight to a bulk order of 50–200 books. If the binding fails after a month of kitchen use, you're left with unusable inventory and no recourse. Proof copies are typically handled gently—they don't simulate the repeated opening, flour-dusted counters, and spill exposure of real kitchens.
What to do instead: Order 5–10 copies in your first proof run and distribute them to family members who cook regularly. Ask them to use the books actively for two weeks and report back on binding integrity, readability, and any layout issues. If you're comparing printing methods, order one copy in coil and one in perfect binding to test both under real conditions before committing to a larger run. This adds 2–3 weeks to your timeline but eliminates costly reprints.
Mistake 7: Not Accounting for Volume-Based Cost Cliffs
Cookbook printing pricing isn't linear. The per-unit cost at 25 copies can be three times higher than at 100 copies, but many first-time authors order the minimum quantity without checking the next pricing tier. A small increase in order size—from 50 to 75 copies, for example—can drop your per-unit cost by $4–6, making the larger order cheaper overall even if you don't immediately distribute all copies.
What to do instead: Request itemized quotes at multiple volumes—25, 50, 75, 100, and 250 copies—before finalizing your order. Look for the volume cliff where per-unit cost drops sharply; that's your optimal order quantity if you can store the extra books. Most short-run printers offer discounts at 100+ copies because they can gang your job with others on the same press run. If you need help modeling these costs, use a [cookbook printing cost calculator](/blog/cookbook-printing-cost-calculator) to compare POD, digital short-run, and offset pricing at each tier.
How to Proof Without Wasting Time or Money
Once you've avoided the format and binding mistakes above, your proofing workflow determines whether you get usable books on the first full print run or waste weeks and hundreds of dollars on revisions. Here's the operator checklist:
- Order a single digital proof first: Confirm layout, margins, and image resolution before testing binding.
- Print 5 copies in your chosen binding: Distribute to active cooks and collect feedback on durability and usability.
- Test one copy to destruction: Spill water on the cover, open it flat 50 times, and leave it on a steamy stovetop. If it survives two weeks of abuse, your binding and lamination are adequate.
- Confirm color consistency across printers: If you're comparing vendors, order one proof from each and compare cover color and interior photo saturation side by side. Digital presses vary more than offset, especially for skin tones and baked goods.
- Review the final PDF yourself: Don't rely solely on the printer's preflight check. Open your PDF in Adobe Reader and zoom to 200% on every page to catch low-resolution images or font substitution errors.
Binding and Paper Combinations That Last
Not every binding works with every paper stock. Here are the three most reliable combinations for family cookbooks that will see regular kitchen use:
- Coil binding + 80 lb matte paper + matte laminated cover: Best for high-frequency use. Opens flat, resists spills, and costs $6–12 per copy at 50-unit runs. This is the workhorse format for active family collections.
- Hardcover lay-flat sewn + 100 lb uncoated paper + soft-touch laminate: Premium option for heirloom projects. Costs $18–28 per copy at 50-unit runs but lasts decades with proper care. Choose this if you're printing fewer than 25 copies as keepsakes.
- Saddle-stitch (stapled) + 70 lb matte paper + gloss laminated cover: Budget-friendly for cookbooks under 48 pages. Costs $3–6 per copy at 50-unit runs. Works well for single-category collections (e.g., "Grandma's Cookie Recipes") but can't accommodate thick books.
If you're deciding between formats based on budget, [run the numbers at your target print volume](/blog/cookbook-printing-cost-calculator) to see where each option falls. Coil and saddle-stitch are typically the most cost-effective below 100 copies; sewn hardcover becomes competitive at 250+ copies if you use offset printing.
Common Layout Errors That Printers Won't Catch
Printers check for technical issues—bleeds, color mode, resolution—but they won't flag recipe-specific layout problems. Watch for these before you upload final files:
- Ingredient lists split across pages: Forces readers to flip back and forth while measuring. Keep each recipe's ingredients on the same spread as its instructions.
- Photos with no bleed allowance: If your design places images at the page edge, extend them 0.125 inches past the trim line to avoid white slivers after cutting.
- Text in the gutter or too close to the spine: Anything within 0.5 inches of the binding will be hard to read. Move recipe titles, step numbers, and key instructions toward the outer margins.
- Inconsistent font sizes: Body text should be at least 10 pt for readability in kitchen lighting. Ingredient lists can go to 9 pt if space is tight, but anything smaller strains eyes during active cooking.
- Low-resolution scanned recipe cards: Scan handwritten cards at 600 dpi minimum. At 300 dpi, cursive text blurs when printed, especially on uncoated paper.
Most cookbook printing services provide templates that prevent these errors, but if you're designing from scratch in Canva or Word, export a test PDF and review it page by page on a large monitor before uploading.
Once you've locked in format, binding, and paper and completed your proofing workflow, you're ready to move to full production. For step-by-step cost modeling and volume planning, explore cookbook printing options and request quotes at your target quantity.
Last verified: May 2025
Sources
- Cookbook Printing & Self Publishing: How to Print a Cookbook
- Printing & Creating Your Own Cookbook | Custom Cookbook Printing
- Custom Cookbook Printing | Print Family or Recipe Books
- Cookbook Printing Services: Affordable Cookbook Printing
- Make Your Own Cookbook or Recipe Book | Lulu
- Create Your Own Print on Demand Cookbook
- Family Cookbook Printing Made Easy
- Print A Cookbook with Pepper and Mixam